
Diagnosis Before Repair: A Triage for Voice Failures
Locate the failing layer, capture evidence, then choose repair or replacement.
 Voiskey Team
Lay Out the Four Layers
Diagnosis Before Repair is the discipline that separates a fast fix from a week of guesswork. Voice failures look alike from the user's chair, but they live in different layers: the device, the operating system, the browser, and the page. Reinstalling software without locating the layer can erase the evidence and leave the real cause untouched. A triage asks four short questions and records the answers before anyone changes a setting. The goal is to identify the failing layer with the least disruption. Once the layer is known, the repair is usually obvious, and the same failure is easier to recognize next time.
Start with the observable symptom, not the suspected cause. Write what the user sees: no prompt, no indicator, no text, or text that disappears. Then write what they expected. The gap between the two is the problem statement. Avoid words like broken or random, which describe feelings rather than behavior. A precise statement, such as the microphone indicator appears but no text is inserted, gives the triage a target. Keep the statement short enough to repeat and specific enough that two people would agree on what counts as fixed. Put it at the top of the sheet. Date it as well.
Ask when it started and what changed. A failure that began after an update, an install, or a move to a new device has a different likely cause from one that appeared gradually. Record the date, the last known working time, and any change in between. Even a change that seems unrelated, such as a new headset or a new office, can matter. Do not accept a vague answer such as recently. Ask for a day and a time. The timeline narrows the search and often points directly at the layer that changed. Write the timeline above the test results.
Define what a good result looks like before you test. The user should be able to open the field, start voice input, speak a sentence, and see clean text. Write that as the acceptance step. Then decide how many attempts count as a pass: one in a row is weak, two or three is better. Record the microphone, the page, and the time of the test. A clear acceptance step prevents the common trap of declaring success after one lucky attempt and then reopening the same ticket the next morning. Keep the step in the sheet. Repeat it in the setup guide.
Run a Ten-Minute Triage
Run the triage in ten minutes with a fixed order. First, speak into the system sound panel and watch the meter. Second, check the page permission. Third, test a second microphone. Fourth, open the page in a new window. Fifth, try a system-level dictation tool. Stop at the first step that produces a different result, and record it. This order moves from the device upward and from the cheapest test to the most disruptive. Ten minutes is enough for all five steps if you have prepared the tools in advance. Keep the order on a card. Review the card after each incident.
Prepare the tools before the triage starts. You need the system sound settings, the browser's site permissions page, a second microphone if available, a new window, and a system-level tool. Having them ready prevents the triage from stalling while someone searches for a setting. Write the steps on a card with a checkbox for each result. A checklist keeps the order consistent across people and devices, and it makes the recorded results comparable. Consistency is what turns five tests into evidence rather than five anecdotes. Store the card with the incident template. Keep a spare microphone nearby. Refill the checklist as it grows.
Record a result for every step, even when it passes. Passing steps are as important as failing ones because they clear layers. If the meter moves, the device is healthy. If the permission is granted, the page is allowed. If a second microphone fails too, the device is probably not the cause. Write pass or fail next to each step, with a short note. A triage sheet with all five rows filled is a complete picture. A sheet with only the failing row is a guess with extra steps. Keep the rows in the same order every time. Add the time next to each row.
Stop the triage when one step changes the outcome. If the page works in a new window, the tab was the layer. If it works with a second microphone, the device was the layer. If it works only with a system-level tool, the page control was the layer. Write the layer and the evidence in one sentence. Then move to repair. Continuing to test after the layer is known wastes time and risks changing several things at once, which destroys the ability to explain what worked. Record the stopping point. Share it with the next responder. Keep the note with the sheet.
Write a Reproducible Evidence Sheet
An evidence sheet is the artifact of the triage. It contains the symptom, the timeline, the five test results, the layer, and the repair. Keep it to one page. Use the same headings every time so sheets can be compared. Include the device name, the browser version, the page, the microphone, and the time. Write the acceptance step and the result. A sheet that another person can follow to reproduce the failure is worth more than a chat message that says voice is not working again. Store the sheet with the team's support notes. Give it a clear title and a date.
Attach the smallest useful proof. A screenshot of the permission state, a screenshot of the button, and a note about the meter are usually enough. Do not attach a long recording of the whole screen; it hides the detail and is hard to review. Crop images to the relevant control. Name files by date and symptom so they can be found later. Keep the original evidence and a copy in the shared location. A small, well-labeled set of images answers most follow-up questions without another round of messages. Keep the set under five files. Label each file with the step number.
Write the evidence in neutral language. Describe what happened, not who caused it. Say the indicator appeared and no text was inserted, rather than the page is broken. Neutral language keeps the focus on the layer and makes the sheet usable by people who were not present. Add a short section for open questions, such as whether the failure happens on a second device. This section tells the next person where to continue instead of forcing them to start from the beginning. Review the wording before you share it. Keep the tone factual and brief. Ask a colleague to read it before sharing.
Store the sheet where the team already looks for support notes. Link it from the setup guide, not from a personal folder. When a similar incident appears, search for the symptom and the layer before opening a new sheet. Reuse the headings and add the new evidence. Over time, the collected sheets become a map of recurring failures and their fixes. That map shortens every future triage and gives new team members a concrete way to learn the system. Review the map each quarter. Remove sheets that no longer apply. Keep the map short. Add a one-line summary at the top.
Choose Repair or Replacement
The triage produces a layer, and the layer determines the repair. If the device failed, fix or replace it. If the permission failed, correct it. If the tab failed, reset it. If the page control failed repeatedly, consider a system-level replacement. Voiskey is an AI voice typing app for Mac and Windows that works at the system level: press a shortcut, speak, and text appears at the insertion point in any app or text field. You can download Voiskey and test it against the same acceptance step used in the triage. Compare the result with the failing path. Write both results side by side.
Choose replacement when the repair does not hold. A page control that fails after every long session, an extension conflict that returns after each update, or a device that cannot be changed may justify a different path. Replacement is not a rejection of the old tool; it is a decision based on the evidence. Write the reason in the sheet: repeated failures at the same layer, with the dates and the recovery steps. A decision with a record is easier to revisit than a preference. Review it after two weeks of use. Add the outcome of that review to the sheet.
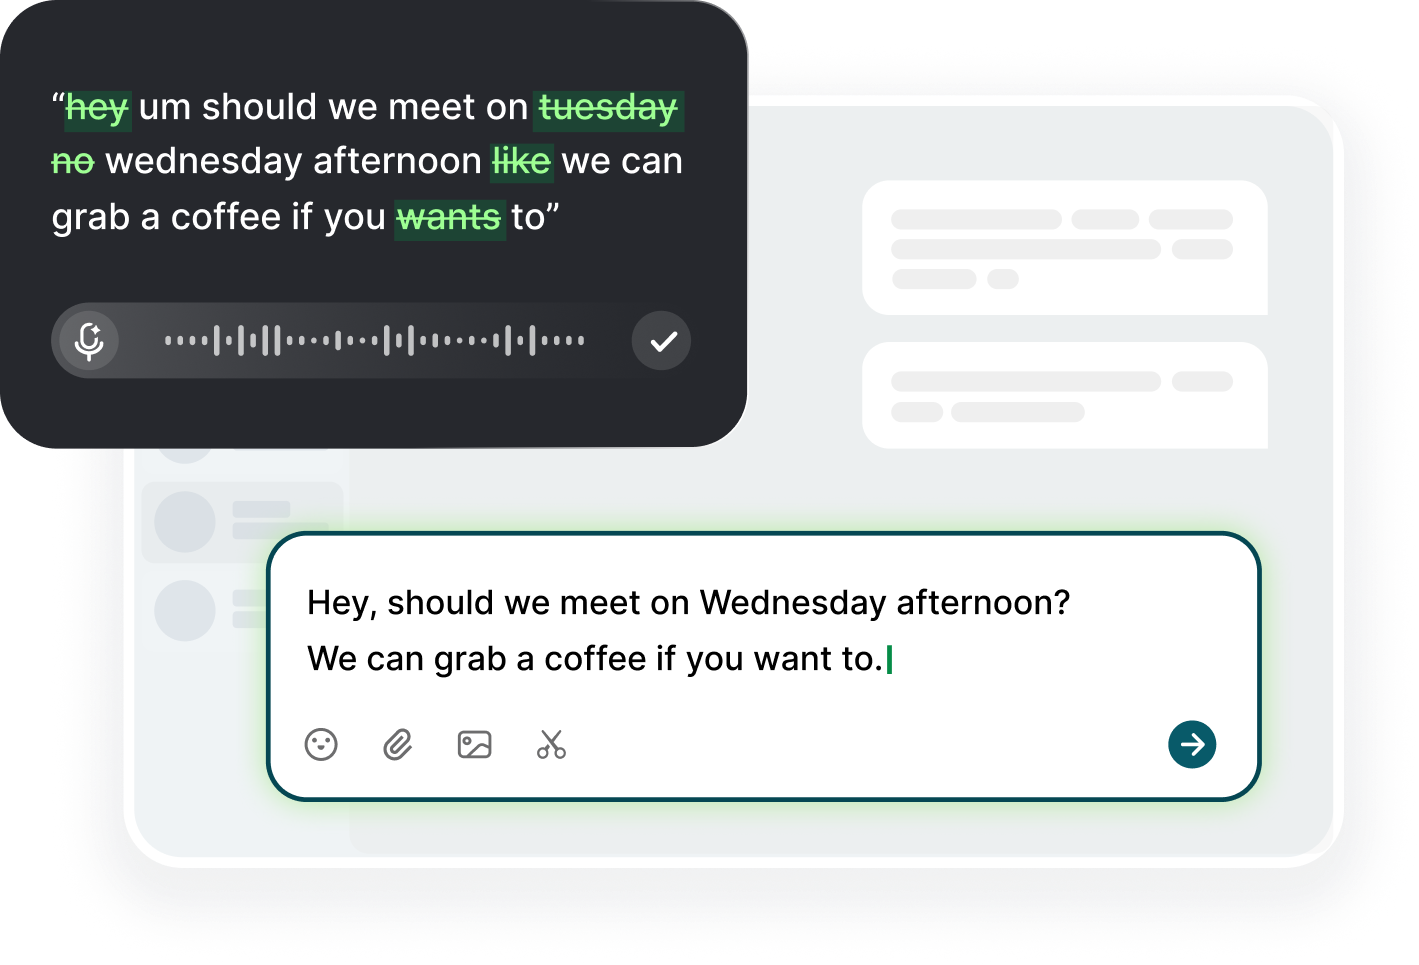
Test the replacement with the same discipline. Install Voiskey, open a plain text field, and dictate the acceptance sentence. Then test the field where the failure occurred. Confirm that names and acronyms appear correctly and that punctuation matches the task. Voiskey removes filler words, stutters, false starts, self-corrections, and grammar slips, and it adapts tone and formatting. Download the app once, run the test twice, and record both results on the same sheet. Compare the two results before deciding. Note any task that still needs the old path. Keep the sheet with the replacement notes. Add the date and the shortcut.
Decide what to keep. A system-level path can coexist with a page control. Use the page control for short prompts and Voiskey for longer or structured work. State the split in the sheet and in the setup guide. If the page control fails later, the team already knows the fallback. If the replacement covers every case, the old path can become optional. Either way, the decision follows from the triage rather than from a hunch, and the evidence supports it. Review the split after a month. Update the sheet with the review date. Share it with the team. Put the split in the setup guide.
Review the Triage Outcome
Review the outcome after the repair has run for a week. Check whether the failure returned, whether the recovery step still works, and whether the user changed their routine. Update the sheet with the result. If the failure returned at the same layer, escalate or replace. If it moved to a different layer, start a new triage with the new symptom. A short review closes the loop and prevents the team from assuming a fix is permanent when it was only temporary. Schedule the review before you close the ticket. Keep the date and the outcome in the same place.
Compare several sheets to find patterns. Group them by layer and by symptom. A cluster at the page layer suggests a browser or page issue. A cluster at the device layer suggests hardware or drivers. A cluster at the permission layer suggests policy or defaults. Write one sentence per cluster describing the pattern and the likely action. Share it with the team. Patterns that are invisible in single incidents become obvious when the sheets are read together. Review the clusters every month and update the setup guide. Keep the cluster list short and concrete. Review it with the team monthly.
Update the triage card from what you learned. Add a step, remove a step, or change the order. If a new app holds the microphone, add it to the list of holders. If a new prompt behavior appears, add it to the permission check. Keep the card short; if it grows beyond one page, move detail to the guide and leave the five core steps. A card that reflects real incidents is more useful than a generic checklist copied from a manual. Print the card and keep it near the desk. Date each revision. Tell the team what changed. Keep the old card for reference.
Close with a handoff. Give the next owner the sheet, the card, and the guide. Name the layer, the repair, and the fallback. Download Voiskey where the replacement is part of the plan, and confirm the shortcut before the handoff. Say what to check first if the failure returns. A handoff that includes the reasoning is stronger than one that includes only the fix. The next person can then diagnose a new failure instead of repeating an old investigation. Review the handoff at the next team meeting. Keep the three files together. Review them at the next review. Update the handoff note.
FAQ s
Check the input meter in the system sound settings, then the page permission, then a second microphone, then a new window. Record pass or fail for each step. If one step changes the outcome, note the layer and stop. Only then decide whether to repair the page path or switch to Voiskey.
Keep one page with the symptom, the timeline, the test results, the layer, and the repair. Add a screenshot of the permission state and the control. Use the same headings every time so sheets can be compared. Store the sheet where the team looks for support notes, and link it from the setup guide.
Replace when the same layer fails repeatedly after repair, such as a page button that stops after every long session. Record the dates and recovery steps in the evidence sheet. Then test Voiskey against the same acceptance step. If it passes twice, make it the primary path and keep the page control as an optional shortcut.
Voiskey works at the system level, so it can serve as the final triage step. If the device, permission, and window checks pass but the page control still fails, press the Voiskey shortcut in the same field. When text appears, the page control is the confirmed layer, and the team has a working fallback while the repair continues.


 Voiskey
Your voice, amplified.
Download Voiskey for Mac and Windows to dictate polished text into the field you already use.
Use it across macOS, Windows, iOS, and Android