
How to Test a Replacement Microphone Quickly
A five-minute bench routine for judging a new microphone fairly.
 Voiskey Team
Set Up a Five-Minute Bench Test
How to Test a replacement microphone quickly is mostly a matter of removing variables before you listen. Clear a small area, connect the new microphone directly to the device, and open one app you already trust. Set the input gain to the middle of its range and leave every effect, filter, and noise suppression control off. Put the old microphone and its cable to one side, still assembled, so you can switch back without hunting for parts. Write the date, the microphone model, and the port on a sheet. A bench test is fast only when the setup is identical for every candidate.
Confirm that the device sees the microphone before you speak a single sentence. Open the system input list, find the new entry, and note its exact name. If two entries appear, identify which one belongs to the new unit by unplugging it and watching which name disappears. Set that entry as the input, then watch the level meter while you tap the microphone gently. A meter that moves on a tap proves the chain from connector to app is alive. If nothing moves, stop and fix the connection instead of testing quality. A quick enumeration check saves you from judging a microphone that was never connected.
Time-box the session so the test stays a test. Give the setup two minutes, the level check one minute, and the speech sample two minutes. Keep a visible timer, because a quick comparison turns into an hour of fiddling when nobody is watching the clock. Do not install software, adjust the room, or update anything during the five minutes. If a problem appears, note it and finish the planned sample with the other microphone so the comparison stays fair. A time box forces you to separate the fault from the preference, and it gives every candidate the same conditions.
Write the pass criteria on the sheet before you begin. A replacement microphone passes when the device lists it, the meter responds to speech at a normal distance, and the recorded sample is complete enough to understand without a replay. Add a note for handling noise, cable noise, and any hum you hear. Then note the fail criteria, such as a dead channel, a meter that clips at normal volume, or a connector that cuts out when touched. Criteria written in advance keep the verdict honest, especially when the new unit looks better than it sounds. Keep the sheet beside the microphone.
Confirm Levels Before Judging Quality
Set gain with speech, not with a test tone alone. Speak at the distance you will actually use and watch the meter for ten seconds. Aim for strong movement that never reaches the top of the scale. If the meter sits near the top, lower the gain and repeat; if it barely moves, raise the gain in small steps. Write the final gain value on the sheet, because a fair comparison requires the same value for both microphones. A microphone that sounds thin is often just under-driven, and one that sounds harsh is often clipping. Level first, opinion second. Write both numbers down before you speak again.
Keep distance and angle fixed across candidates. Mark a spot on the desk with tape and stand or sit so your mouth stays the same distance from the capsule. Speak across the microphone rather than straight into it if the design calls for that, and note the angle you used. Small changes in distance produce large changes in level and tone, which is why so many home comparisons reach the wrong conclusion. Photograph the arrangement once. Then every later test, including one performed by a colleague, can reproduce the same geometry without a discussion. Keep that photo with the sheet.
Separate level problems from quality problems with one extra pass. If the recording is quiet, raise the gain and repeat the same sentence. If it is still unclear at a good level, the microphone or the room is the issue. If it is clear at a low level but distorts at a high level, the gain was too high for that unit. Write each observation in its own row instead of a combined impression. Rows make it obvious when a candidate fails for one reason rather than three, and they stop a single bad setting from disqualifying an otherwise usable microphone.
Measure the room before you blame the microphone. Sit quietly for fifteen seconds and watch the meter with nobody speaking. A meter that shows constant activity is picking up a fan, a vent, or a display hum. Note the source if you can find it, then repeat the speech sample with that source switched off. If the background drops, the earlier recording was judged in a noisy room. A short silence check costs fifteen seconds and protects both candidates from an unfair comparison. Room noise is the most common reason a good microphone seems poor. Repeat the silence check after each change.
Use a Repeatable Speech Sample
Choose one passage and use it for every candidate. Include ordinary sentences, three names, two numbers, and a few words that sound alike, because those are the parts that reveal clarity differences. Add one long sentence with a comma and one question so punctuation has something to work with. Keep the passage near sixty seconds at a comfortable pace. Print it and keep the printout with the sheet. A fixed passage is the only way to compare two recordings without relying on memory, and memory is remarkably kind to whichever microphone you tried last. Tape the printout to the desk edge.
Read the passage three times for each microphone and keep all three takes. The first take warms up your voice and your ear, the second is usually the fairest, and the third shows whether the result holds when you are slightly tired. Do not delete a take because it sounds bad; label it and move on. Number the files by microphone, take, gain, and date, so a later listener can find any sample in seconds. Three takes also reveal an intermittent cable or connector, which a single perfect take would hide. Label every file before you listen to any of them.
Include the awkward material your real work contains. Read an acronym aloud, then read it again as a spelled sequence, and note which version you used. Read a file name with an underscore, a short command, and a technical term you use daily. These are the inputs that separate a microphone that is fine for calls from one that is fine for dictation. Keep the same awkward material for both candidates even if it feels silly. The comparison is only useful when the hard parts are present in both recordings. Say the awkward terms slowly and note where you paused.
Listen once for meaning and once for detail. On the first pass, ask whether you understood every sentence without rewinding. On the second, listen for clicks, plosives, hiss, and dropped endings. Score each take on a three-point scale for completeness, clarity, and handling noise, and write the three numbers on the sheet. Do not combine them into a single score yet, because a candidate that is clear but noisy is a different problem from one that is quiet but muffled. Separate scores preserve the reason behind the verdict. Enter all three numbers on the sheet while you listen. Then compare the rows.
Compare Old and New Side by Side
Run the comparison as a sequence, not as a memory exercise. Record the old microphone first, then unplug it, connect the new one, set the same gain, and record the same passage. Do not change the room, the distance, or the app between the two. After both sets exist, listen to them in alternating order: old, new, old, new. Alternating playback exposes differences that a single pass smooths over. Write one sentence about what changed and one about what stayed the same. Those two sentences are the core of the verdict. Keep the player window at one volume for both.
Treat the cable as its own variable. Repeat the new microphone with the old cable, then repeat the old microphone with the new cable. A microphone that improves when the cable changes was never the problem. A cable that fails when it is bent near the connector is a handling fault you can confirm by flexing it gently during a recording. Note both results on the sheet. Cable swaps take two minutes and often save the cost of a replacement unit. Do this before you decide that either microphone is faulty. Two minutes here can save the cost of a purchase.
Ask a second person to listen without telling them which recording is which. Give them the alternating files with neutral names and ask which one they would rather transcribe. Their answer is not the verdict, but it is a useful check on your own expectation. If they choose the old unit, inspect your notes for a setting that favored the new one. If they cannot tell, the two units are close enough that handling and cable quality should decide. A blind listener removes the bias that comes from wanting the new purchase to be justified. Write their choice on the sheet.
Decide against the criteria, not against the excitement of a new box. A replacement earns its place when it passes the listing check, the level check, the three-take sample, and the blind comparison, and when it beats the old unit on at least one criterion that matters to your work. If it only ties, keep the old unit and the spare cable. If it fails one criterion, repeat that part once before rejecting it. Write the decision and the evidence on the same sheet. A verdict with evidence is easy to defend later and easy to revisit when the next replacement arrives.
Record the Verdict and Keep a Spare
Record the result while the samples are still fresh. Write the microphone names, gain values, port, date, and the three scores for each candidate. Add the blind listener's choice and the final decision in one line. Keep the recordings with the sheet, named so they sort by date. Then write a short note for your future self: which microphone is now primary, which cable is trusted, and which combination should not be used. A verdict that lives only in your head disappears the moment the desk is rearranged or a colleague borrows the equipment. A single page record is enough.
Put the losing unit to work as a spare instead of discarding it. Label it with its known weakness, such as a loose connector or a thin low end, so nobody mistakes it for the primary. Store it with a known good cable in a labeled bag. A spare that is assembled and labeled can rescue a call in thirty seconds, while a spare in three pieces usually causes a second problem. Check the spare once a quarter by recording the same passage. If it has degraded, replace it before you need it. Put the quarter date on the bag.
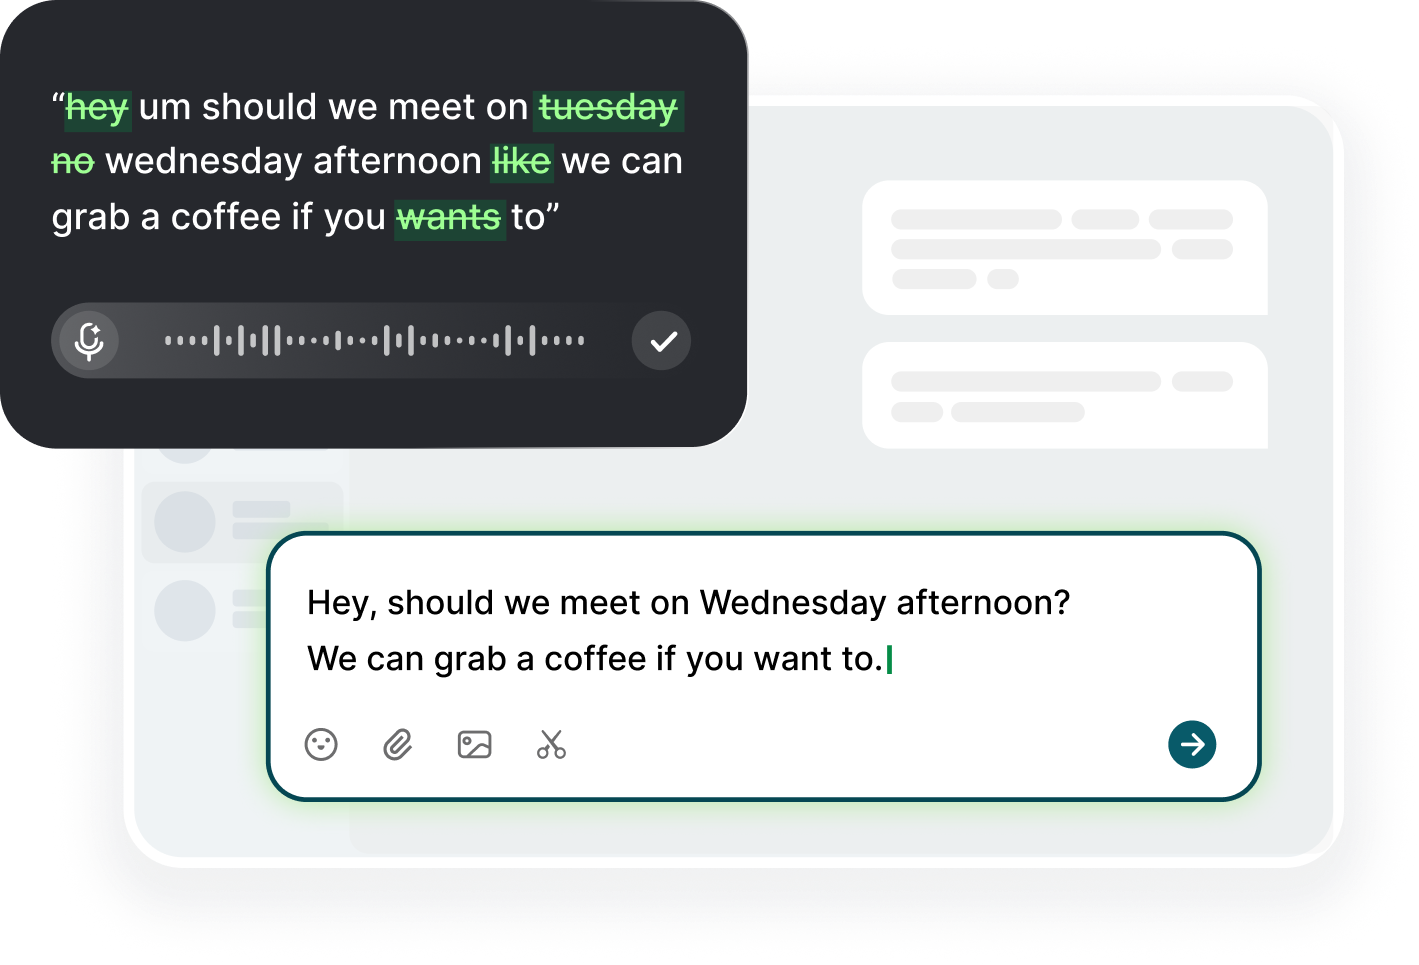
Use Voiskey to turn the sample into a practical check. Voiskey is an AI voice typing app for macOS and Windows that works at the system level: press the shortcut, speak, and the text appears at the insertion point in the app you are using. Read the same passage you recorded, then compare how much editing the text needs. It removes filler words, stutters, and false starts, and it adapts punctuation to what you are doing. You can download Voiskey and use it as the final test of the microphone you plan to keep. Read the fixed passage one more time.
Close the loop with a one-week retest. After a week of ordinary use, record the passage once more with the chosen microphone at the same gain and distance. Compare it with the winning sample from the bench test. If the new recording is worse, check the cable and the port before you blame the microphone, because desks change more often than capsules do. Note the retest date on the sheet. A microphone that survives a week of real work is a microphone you can trust, and the retest is the cheapest way to prove it. Keep that sheet nearby.
FAQ s
Voiskey works at the system level, so you press the shortcut, speak the fixed passage, and read the text that appears at the insertion point. That gives you a practical result in seconds without configuring a page. You can judge whether the replacement microphone produces text that needs little editing.
Use the same short passage for both units, including three names, two numbers, and one technical term. Voiskey learns names, jargon, acronyms, and spelling preferences, so a term that lands correctly is a useful signal. Keep the distance and gain identical for both readings.
Yes. Voiskey supports up to 220 words per minute, about five times faster than typing, so you can read the passage at a brisk pace and see whether the text stays complete. It also removes filler words and false starts, which makes the remaining errors easier to spot.
Voiskey turns speech into text in any app or text field after one shortcut press, so it remains useful for notes, messages, and drafting. It adapts punctuation and tone to the task and supports more than one hundred languages. The same shortcut you used for the test becomes your daily writing path.


 Voiskey
Your voice, amplified.
Download Voiskey for Mac and Windows and test a new microphone in minutes.
Use it across macOS, Windows, iOS, and Android