
What to Check in macOS Microphone Settings
A device-first checklist for clean dictation on a desktop system.
 Voiskey Team
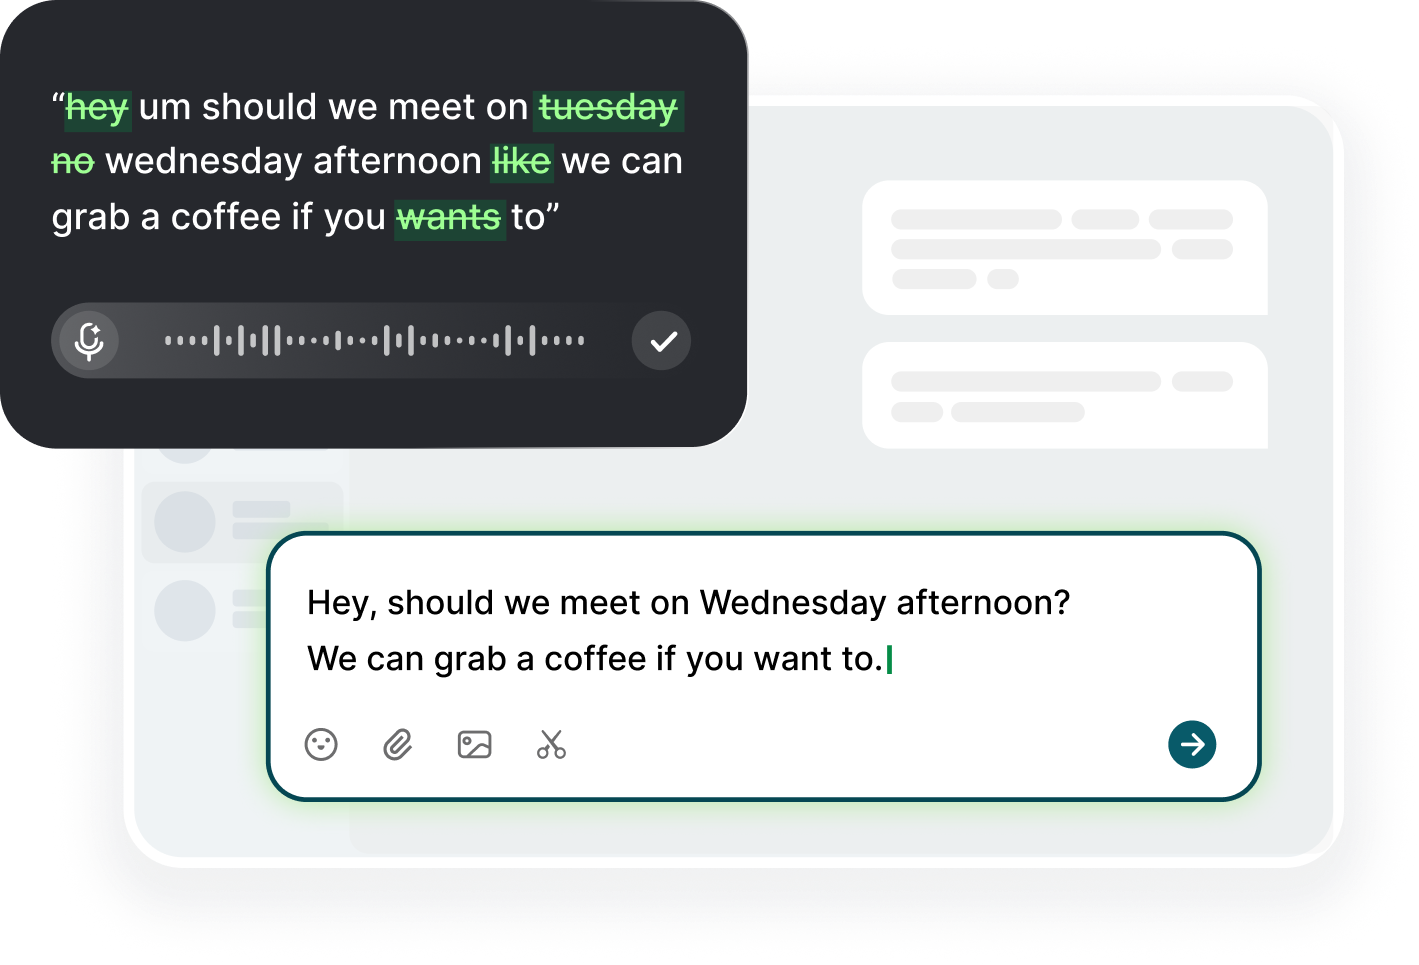
Start With the Input Device List
What to Check in a system microphone panel starts with the device list, because every later test depends on the microphone the system selects. Open the sound settings, find the input section, and read which device is active. Laptops often list the built-in microphone, a headset, and a virtual device from a calling tool. Speak a sentence and watch the level bar beside the selected device. If the bar stays flat, the system is not receiving sound and no browser page can help. Select the device you actually speak into, even if another entry looks more familiar. A wrong default explains more failures than any other single setting.
Read the list for stale entries as carefully as the active one. A headset that was disconnected last week may still appear and may still be selected, leaving the system listening to a device that is not there. Remove or ignore entries you no longer use, then confirm the default again. For a desktop with several ports, note which port the working microphone uses. That detail matters when someone replugs cables during a call. A short, current list is easier to test than a long list of device names nobody recognizes. Label each entry with a short note in your own words so the list reads clearly during a rushed test.
Test one device at a time. Speak the same sentence into the built-in microphone, then into the headset, and compare the meters. Keep the room and your distance as similar as you can. If one device is clearly weaker, decide whether to replace it or to keep it for quiet settings only. Write the result beside each device name. When you later troubleshoot a page, you can then start from a device you know works rather than from whichever entry the system chose last. If two devices perform about the same, keep the one with the simpler cable and the more predictable name, because fewer parts mean fewer surprises during a call.
Finish the device pass by setting a default you can explain. Choose the microphone you will use for daily work, not the one that happens to be first in the list. If a docking station changes the order when it connects, note that behavior; it is a common reason a working setup fails the next morning. Save the device name and port in your notes. A deliberate default removes one variable from every future test, and it makes a colleague's reproduction of your problem far more likely to match. When the default changes on its own, compare the list before and after you connect the dock to find the entry responsible.
Confirm App Microphone Access
Check whether the app you are using has microphone access at the system level. The sound panel shows devices, but a separate permission list decides whether an app may use them. Open that list, find the app, and confirm the switch is on. If the app is missing entirely, open it once and trigger its microphone feature so the system can ask. A denied entry produces silence with no error inside the app, which is why people often blame the device. Change one entry, return to the app, and test before touching anything else. A missing entry is often just an app that has never asked for access.
Watch for the permission prompt at the moment of use. A prompt that appears behind another window is easy to miss, and a missed prompt looks like a failure. Bring the app forward, start dictation once, and read the dialog before dismissing it. If you decline by accident, return to the permission list and enable the app there rather than waiting for a second prompt that may not come. Record which app you authorized and when, so a later reviewer can see whether the state changed after an update. If the prompt reappears after every launch, record that behavior instead of clicking through it each time.
Distinguish a permission problem from a device problem with one comparison. Use a second app that you know can record and speak into it. If it also fails, the device or level is the cause. If it works, the first app's permission or behavior is the cause. This comparison is faster than reading documentation for each app. Keep the two results separate in your notes. A clear split between device-level and app-level causes prevents you from changing settings in the wrong layer. Name the two apps and the exact phrase you spoke, because a comparison is only useful when the conditions are written down beside the result.
Recheck the permission list after system updates. Updates can reset entries, add new prompts, or rename an app in the list. If a working setup stops after an update, open the list first rather than reinstalling. Restore the switch, test one sentence, and note the version that changed. If the app does not appear even after you trigger its feature, restart the machine once and look again. Document the final state; the next update may repeat the same pattern, and a short note turns a surprise into a known routine. Add the permission entry to the same note as the device list, so one page covers both layers of the check.
Set and Test the Input Level
Set the input level with your normal speaking voice, not a whisper or a shout. Open the sound panel, select the device, and watch the meter while you read a sentence aloud. Aim for clear movement without the bar pinned at its maximum. If the panel offers an automatic option, test it on and off with the same sentence and keep the steadier result. Write the chosen value next to the device name. A level chosen in a quiet room may need adjustment in a shared office, so test where you actually work. Repeat the reading twice, because the first pass is usually quieter than the second.
Check for processing options that change the signal. Some systems offer noise suppression, echo cancellation, or automatic gain. These can help on a call and can also cut quiet syllables in dictation. Test one option at a time with the same sentence and compare the text you get back, not only the meter. Keep a short note of which options were on when the text was clean. If you cannot tell the difference, leave the options at their defaults and change only the level. Write down the option names exactly as the panel shows them, since vague labels such as sound improvements are difficult to reproduce on another machine.
Confirm the physical conditions before adjusting software further. Move the microphone away from a fan, a speaker, or a laptop vent. Speak across the microphone rather than directly into it if the design recommends that. Check that no mute switch is engaged and that the cable is fully seated. Ask a colleague on a short call whether your level sounds steady. These steps sound trivial, but a moving cable or a blocked vent produces exactly the intermittent dropouts that people attribute to software. A five minute check with a moving cable will find more dropouts than an hour spent reinstalling software, so start with the parts you can touch.
Test the level in the app where you will actually dictate, not only in the sound panel. Place the cursor in a text field, speak one sentence, and read the result. If the sound panel meter moves but the app produces nothing, the problem is above the device layer; return to the permission list. If the app produces text with dropped endings, revisit the level and the processing options. Keep the final level and option state in one line. That line is the baseline for every later comparison. When the panel and the app disagree, trust the result in the app, because that is where the text actually has to appear.
Cross-Check With Voiskey at the Cursor
When the app still fails, cross-check with a system-level tool. Voiskey is a voice typing app for macOS and Windows that works at the system level: press a shortcut, speak, and text appears at the insertion point in any app or text field. Place the cursor in a plain document and dictate the sentence that failed elsewhere. If clean text appears, the selected device, level, and permission are working, and the failing app is the remaining suspect. That single test separates the machine from the app. Keep the comparison to one sentence so the reading stays short and the result is easy to repeat tomorrow.
Make the cross-check fair. Use the same device, the same level, and the same sentence you used in the failing app. Compare the two outputs for dropped endings, repeated words, and punctuation. Voiskey removes filler words, stutters, false starts, self-corrections, and grammar slips, so a clean result there shows your speech is arriving intact. Save both samples with the date. Examples are easier for a support team to act on than a description such as it sometimes stops. Read both outputs aloud before you judge them, because a sentence that looks fine on screen can reveal missing endings when spoken back slowly. Keep both copies with the date.
Install the tool before the comparison if it is not present. Download Voiskey from the official site, complete the short setup, and confirm the shortcut starts a listening state. Because it works at the system level, it needs no microphone button inside the other app and no separate permission beyond the system prompt. That is what makes it a useful control. Note the version and shortcut in your log, then repeat the plain-field dictation once to confirm the result is stable. A format that works for one app can fail in another, so test the app you actually use rather than assuming the system default is best for everything.
Read the comparison before you act. If the system-level tool also fails, return to the device list and level. If it succeeds and the other app fails, work on that app's permission or interface. If both succeed but the earlier attempt failed, the cause was probably a prompt or a device change that has since cleared. State the conclusion in one sentence and attach the two samples. Stop changing settings once the evidence points to one layer; extra changes only make the result harder to explain. If the panel has no such option, note that fact and test whether a call and a dictation can run at the same time.
Record the Settings That Work
Write down the settings that produced clean text. Include the device name, the port, the input level, the state of any processing options, and the permission entries you changed. Add the system version and the date. Store the note with your other operating instructions rather than in a message thread. If a colleague reports the same problem, the note gives them a starting point instead of a list of guesses. A settings record is only useful if it names exact values and exact switches. Keep the failing app open in the background during the test so you can repeat the same action immediately after the plain-field result.
Revisit the note after major updates. System updates can reset permissions, change the default device, or alter processing defaults. Set a monthly reminder to speak one sentence in a plain field and one in the app you use most. If both produce clean text, the setup still holds. If one fails, follow the note from the device list downward. This short check catches most regressions before they cost an afternoon, and it takes less time than the original investigation. Write the sentence on a sticky note or in the document so every run uses identical words, and read it aloud rather than improvising a fresh new sentence.
Share the vocabulary that matters to your work. Add names, acronyms, and product terms to the app so they are recognized, and keep a written list beside the settings note. Voiskey learns names, jargon, acronyms, and spelling preferences, and the team plan offers shared vocabulary and workflows for groups using the same terms. A shared list reduces corrections and makes outputs easier to compare between people. Review it when a new product or team name appears rather than after a batch of mistakes. Do this on the same machine and account you use daily, so the result reflects your real setup rather than a borrowed machine.
End by choosing the tool you will rely on for daily dictation. A system-level app that types wherever the pointer sits is less affected by individual app permissions than a feature built into one page. Download Voiskey for your desktop, set the shortcut, and dictate one real message in the field you use most. Keep the settings note for the cases where something stops working. Follow Speak, Polish, Type, Edit: speak the draft, let the app polish it, accept the text, then edit what needs judgment. Attach the date and the two sample sentences so a reviewer can see exactly what changed between runs.
FAQ s
Voiskey works at the system level: press the shortcut, speak, and text appears at the insertion point in any app or text field. It relies on the microphone your system provides, so confirm that the selected device shows a moving level before you begin. Then speak naturally; the app removes filler words, stutters, false starts, self-corrections, and grammar slips.
A short dictation in a plain field shows whether speech reaches the app. Voiskey places text at the insertion point, removes filler words, stutters, false starts, self-corrections, and grammar slips, and adapts punctuation and tone. If the result is clean, the device and level are adequate; if phrases are missing, revisit the level before changing the app you were testing.
Voiskey is separate from an app-level control because it works at the system level. Press the shortcut, speak, and text appears at the insertion point in any app or text field, including one whose own microphone feature is blocked. It supports 100+ languages and translation. That makes it a practical comparison when you need to know whether the device or the app is at fault.
Keep a short note with the device name, the level, any processing options, and the shortcut. Voiskey learns names, jargon, acronyms, and spelling preferences, and the team plan offers shared vocabulary and workflows, so record the terms you add as well. Give the note a date and an owner, and recheck it after major updates. A one-page record is easier to follow than a long explanation.


 Voiskey
Your voice, amplified.
Download Voiskey for Mac and Windows and dictate clean text with a microphone you trust.
Use it across macOS, Windows, iOS, and Android