
How Background Noise Reaches the Speech Model
Trace noise from the room to the recognizer and fix the loudest source first.
 Voiskey Team
Follow the Noise Path
How Background Noise Reaches the speech model explains most one-off dictation failures better than any setting on a menu. The path has four stages: the room, the microphone, the gain stage, and the recognizer. Noise enters at the room, is picked up by the capsule from every direction, is amplified along with the voice, and then competes with speech for attention in the model. A failure at any stage looks the same in the transcript: a word replaced by a plausible neighbor. Draw the four stages on one line before you change a setting. Keep the line visible while you work, because a fix at the wrong stage wastes an hour.
A microphone capsule does not know which sound you intended. A cardioid pattern favors the front and rejects some sound from the rear, but a keyboard six inches away can still arrive louder than a voice three feet away. Fans, vents, and traffic arrive from the rear or the side and pass through the rejection at reduced strength rather than zero. Placement is the first lever because it changes the ratio between voice and noise before any processing runs. Move the microphone before you move any slider. Note the distance and the angle together, since both change the ratio, and a microphone pointed at a soft wall hears less of the room.
Gain is the second lever. Automatic gain raises a quiet voice, and it also raises the room. When the room is loud, the gain settles lower and your voice becomes the quiet part of the signal. Noise suppression helps with steady sounds such as a fan and hurts with transient sounds such as a door, because it cannot separate a short event from a consonant. Adjust the input level manually when the room changes, and listen to a test recording rather than trusting the meter alone. Write the level beside the room condition so the pair can be compared later.
By the time the recognizer sees the signal, the noise has been shaped by all three earlier stages. That is why two people with the same microphone can get very different results in the same room: one sits closer, faces a soft wall, and keeps the level moderate; the other leans back, faces a window, and lets the gain fight the traffic. Write down the position, the level, and the room condition when a sentence fails. The pattern is usually physical, not mysterious, and a few rows of notes will show it. Compare two positions with the same sentence before changing the gain, and keep one variable per row.
Measure the Room First
Measure before you change software. A simple sound level meter, including one on a phone, gives you a number for the room at your seated position. Note the reading with the room empty and again while you speak. A difference of a few units tells you the voice is well above the floor; a small difference tells you the room is doing much of the work. Repeat the reading at the time of day when dictation usually fails. Keep both numbers in the same note so the comparison is honest. Write the unit beside the number so a later reader knows what it means, because a meter without a unit is a memory, not a measurement.
Walk the room and identify the sources. Listen for a fan, a refrigerator, a light fixture, a vent, and traffic through a window. Rank them by how much they change the meter when you switch them off. A source that moves the number by more than a little is worth fixing; a source that barely moves it is not your problem. Fix the top one or two before touching microphone settings. A ranked list prevents you from spending an afternoon on a clock tick. Do the ranking while the room is in its normal state, not after you have silenced it, since a quiet test room hides the real problem.
Record when the noise happens, not only how loud it is. A heating system that cycles every twenty minutes will produce failures in a pattern that looks random until you write down the times. A neighbor schedule and a delivery truck route are similarly regular. A short log across two days often reveals a cycle you can work around by moving a meeting or closing a door. Note the weather too, because wind and rain change both the room and the traffic. Write the cycle length, not just the hour, so a workaround can be planned, and two days of notes usually beat one long listening session.
Try the cheap fixes first. Move the desk away from the vent, hang a soft surface behind you, close the window, and put the microphone between you and the loudest source. These changes do not require a new device and are easy to reverse. Measure after each one so you know which change moved the number. A room that measures better is a room where every later setting behaves more predictably. Record the change and the new reading in the same row. Keep a before and after reading for each fix so the note shows what worked, and undo a fix that does not move the number.
Fix the Chain to the Microphone
Fix the chain in order from the mouth outward. Start with distance: a hand span, roughly five to ten centimeters, is close enough to favor the voice and far enough to avoid breath noise. Speak across the capsule rather than into it, slightly off axis, so plosives do not hit the element directly. Then adjust the gain so normal speech sits in the middle of the meter, not at the top. These three changes cost nothing and often remove more errors than an expensive device would. Say a normal sentence, not a shout, when you set the level, because a shout sets a level your everyday voice will never reach.
Mount the microphone so it does not pick up the desk. A boom arm or a stand with a soft base removes thumps from typing and from a heel tapping the floor. Keep the keyboard out of the direct path; a mechanical board two inches from the capsule can be louder than the voice. If the microphone sits on the same surface as the keyboard, put a cloth or a pad underneath and move it to the side you do not use. Test the setup by typing while you record. Record ten seconds of typing so the thumps are easy to judge, and remember that a soft base is cheaper than a new stand.
Check the connection. A loose plug, a worn cable, or a hub shared with a drive can introduce crackle and dropouts that sound like recognition errors. Move the microphone to a direct port, replace the cable once, and listen to a test recording with headphones. If the crackle disappears, the problem was physical. Do not chase software settings until a clean recording is possible. Label the cable so a later swap does not reintroduce the fault. Swap the cable before you swap the microphone, since a crackle that follows the cable is the cable, not the capsule. Keep a spare cable in the drawer.
Verify with a recording rather than a transcript. Record ten seconds of normal speech, listen once at a comfortable level, and note whether the voice is clear, whether the room is audible, and whether any transient sound appears. A recording isolates the input chain from the recognizer. When the recording is clean and the transcript is still wrong, the remaining cause is on the recognition side, and you can stop adjusting the room. Keep the recording with the notes so a later session can compare. Listen with headphones so the room does not color what you hear, because a clean recording is the base case for every later test.
Dictate Through Noise with Voiskey
When the room cannot be fixed today, change the typing path and keep working. Voiskey is an AI voice typing app for Mac and Windows that works at the system level: press a shortcut, speak, and text appears at the insertion point in any app or text field. You can dictate into the document you already have open, with the microphone in the position you have already tested, instead of switching to a page control that behaves differently. Keep the same field for each test so the comparison stays fair. Write the field name and the room in the same line as the result, since that pair explains most differences between sessions.
Download Voiskey for Mac or Windows, install it, and test the shortcut in the noisy room rather than a quiet one. Speak one sentence and read the result. If the output is close, keep going and correct the terms that matter. If the room swallows whole words, fix the physical chain first; no typing tool can restore a word the microphone never captured. Write down the sentence and the result so the next test has a baseline. When whole terms vanish from the draft, treat the input path as the cause and leave the correction list alone until the next run. Fix the input, then test again.
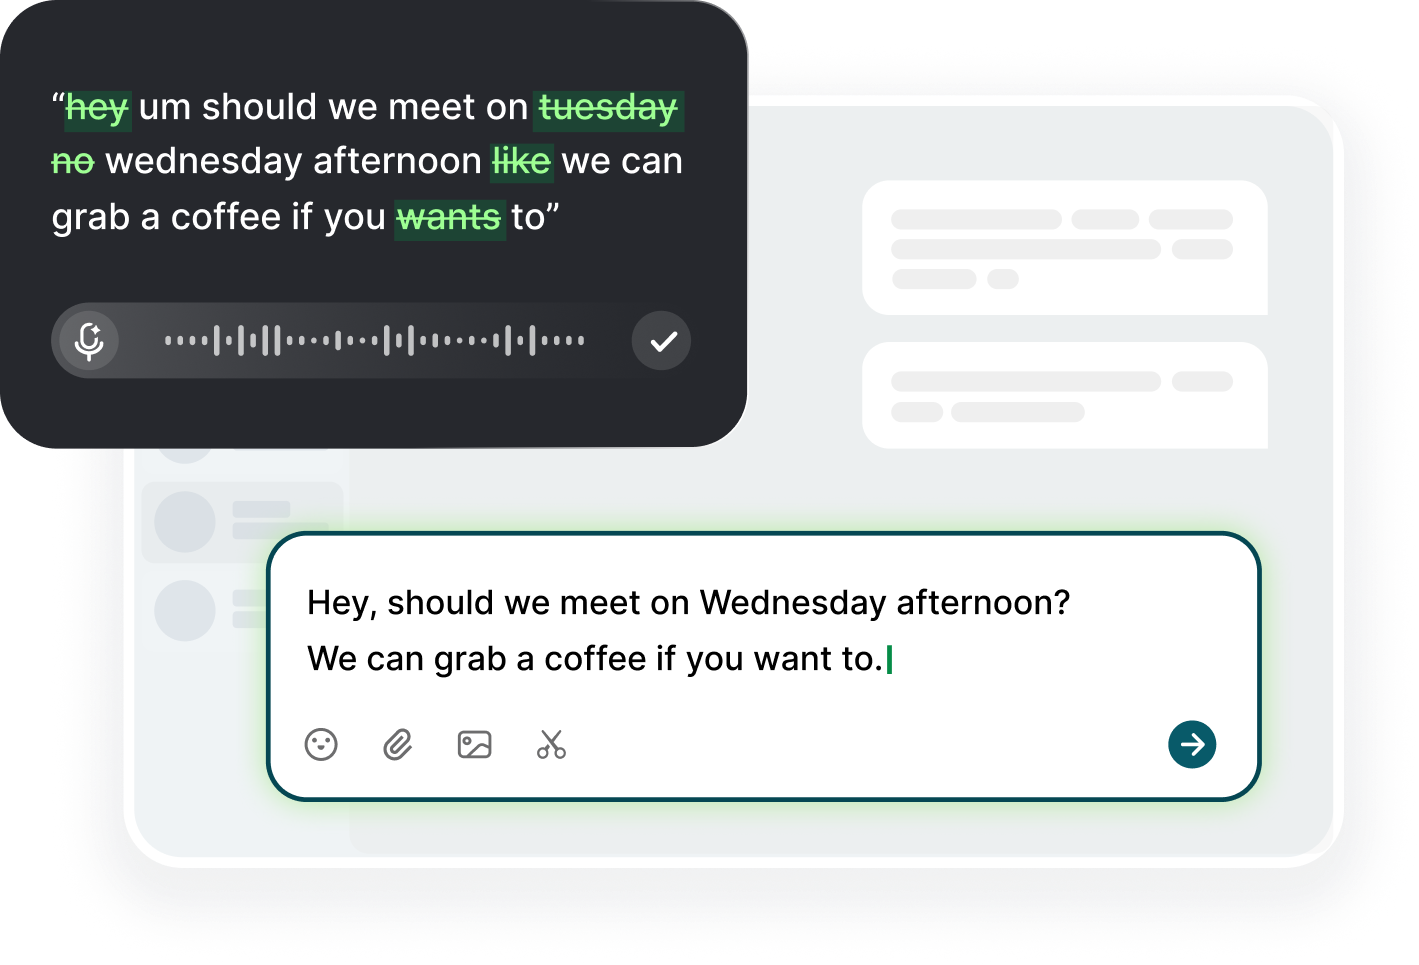
The cleanup step is where a noisy session recovers time. Voiskey removes filler words, stutters, false starts, self-corrections, and grammar slips, and it adapts punctuation, formatting, tone, and word choice to the task. It learns names, jargon, acronyms, and spelling preferences, so the terms you repeat in a noisy room come back more reliably once corrected. The result is a draft you can edit rather than a transcript you must rebuild. Review the draft before sending, because a clean sentence can hide a replaced word. Say the same two sentences each time so the correction list stays short; a long list is harder to run than a short one.
Keep the boundary clear. Voiskey improves the text after speech is captured; it does not cancel a ventilation system or move a keyboard. If failures cluster at the same time each day, treat that as a room problem and use the meter log. If failures cluster around the same words, treat that as a vocabulary problem and use the correction list. The two fixes are different, and naming the right one saves an afternoon. Write the diagnosis in one line before you start either fix. Name the fault in one line and file it with the log, because a named fault is easier to fix than a feeling.
Create a Repeatable Quiet Setup
Create a setup you can rebuild in any room. Write the position, the distance, the gain setting, and the loudest source in a short note. Photograph the desk arrangement so the next setup matches this one. When you move to a different office, repeat the measurement and adjust one item at a time. A written setup turns a lucky quiet corner into a procedure that works in a new building. Keep the note one page long so it can be read while you rearrange a desk. Write the loudest source in the note so a new room can be compared, since a one-page note survives an office move.
Keep a fixed test sentence and say it after any change. Use a sentence with a name, a number, and a common word that the recognizer tends to confuse. Save the transcript next to the setup note. When the sentence fails, you know the change mattered; when it succeeds, you have evidence that the new arrangement is at least as good as the old one. Date the transcript so a slow drift is visible across weeks. Use the same sentence at the start and end of the month. A single failed term is a lead, not a verdict, so repeat it once before you act.
If several people share a space, agree on the loudest sources and the quiet hours. Put the measurement note where everyone can see it and update it when equipment moves. A team that knows the room pattern stops blaming individual devices for a shared condition. Review the note when a new device arrives or a desk is rearranged. Add the name of the person who took the last measurement so questions have an owner. Add a row when the desk moves and a row when a device changes, because old rows explain why a setting was chosen. Keep the newest row at the top and review it before a busy week.
Close the loop by connecting the room log to the dictation log. When a failure appears, check the room note and the correction list before changing settings. If neither explains it, run the test sentence again and add the result to both logs. Over a month, the two logs answer most questions without a new experiment. That is the point of a repeatable setup: fewer variables, faster answers. Review both logs together at the end of the month and remove rows that no longer matter. A short log gets read; a long one gets ignored. Keep the test sentence current.
FAQ s
Voiskey removes filler words, stutters, false starts, self-corrections, and grammar slips, and it adapts punctuation and tone to the task. It cannot restore a term the microphone never picked up, so move closer and lower the loudest source first. Then dictate in the field you already use and correct any repeated term once.
A hand span, roughly five to ten centimeters, is a practical distance. Speak across the capsule rather than into it so breath and plosives miss the element. Keep the keyboard out of the direct path and set the input level so normal speech sits in the middle of the meter. Voiskey then places the text at the insertion point in the field you are using.
No special microphone is required. Voiskey works at the system level with the microphone your device provides: press the shortcut, speak, and text appears at the insertion point in any app or text field. A closer position, a lower input level, and a softer surface behind you reduce the effect of the room more than a new device does.
Noise masks consonants, so the recognizer must guess between similar terms. Voiskey can remove fillers and clean the output, but it cannot recover a sound the microphone missed. Log the time of each failure and check whether a fan, vent, or traffic cycle matches it. Fix the loudest source and retest one sentence before changing any setting.


 Voiskey
Your voice, amplified.
Download Voiskey for Mac and Windows to dictate clearly even when the room is loud.
Use it across macOS, Windows, iOS, and Android