
How to Dictate an Email in Outlook: Desktop and Web, Step by Step
A clear, step-by-step guide to how to dictate an email in Outlook so you can reply by talking instead of typing.
 Voiskey Team
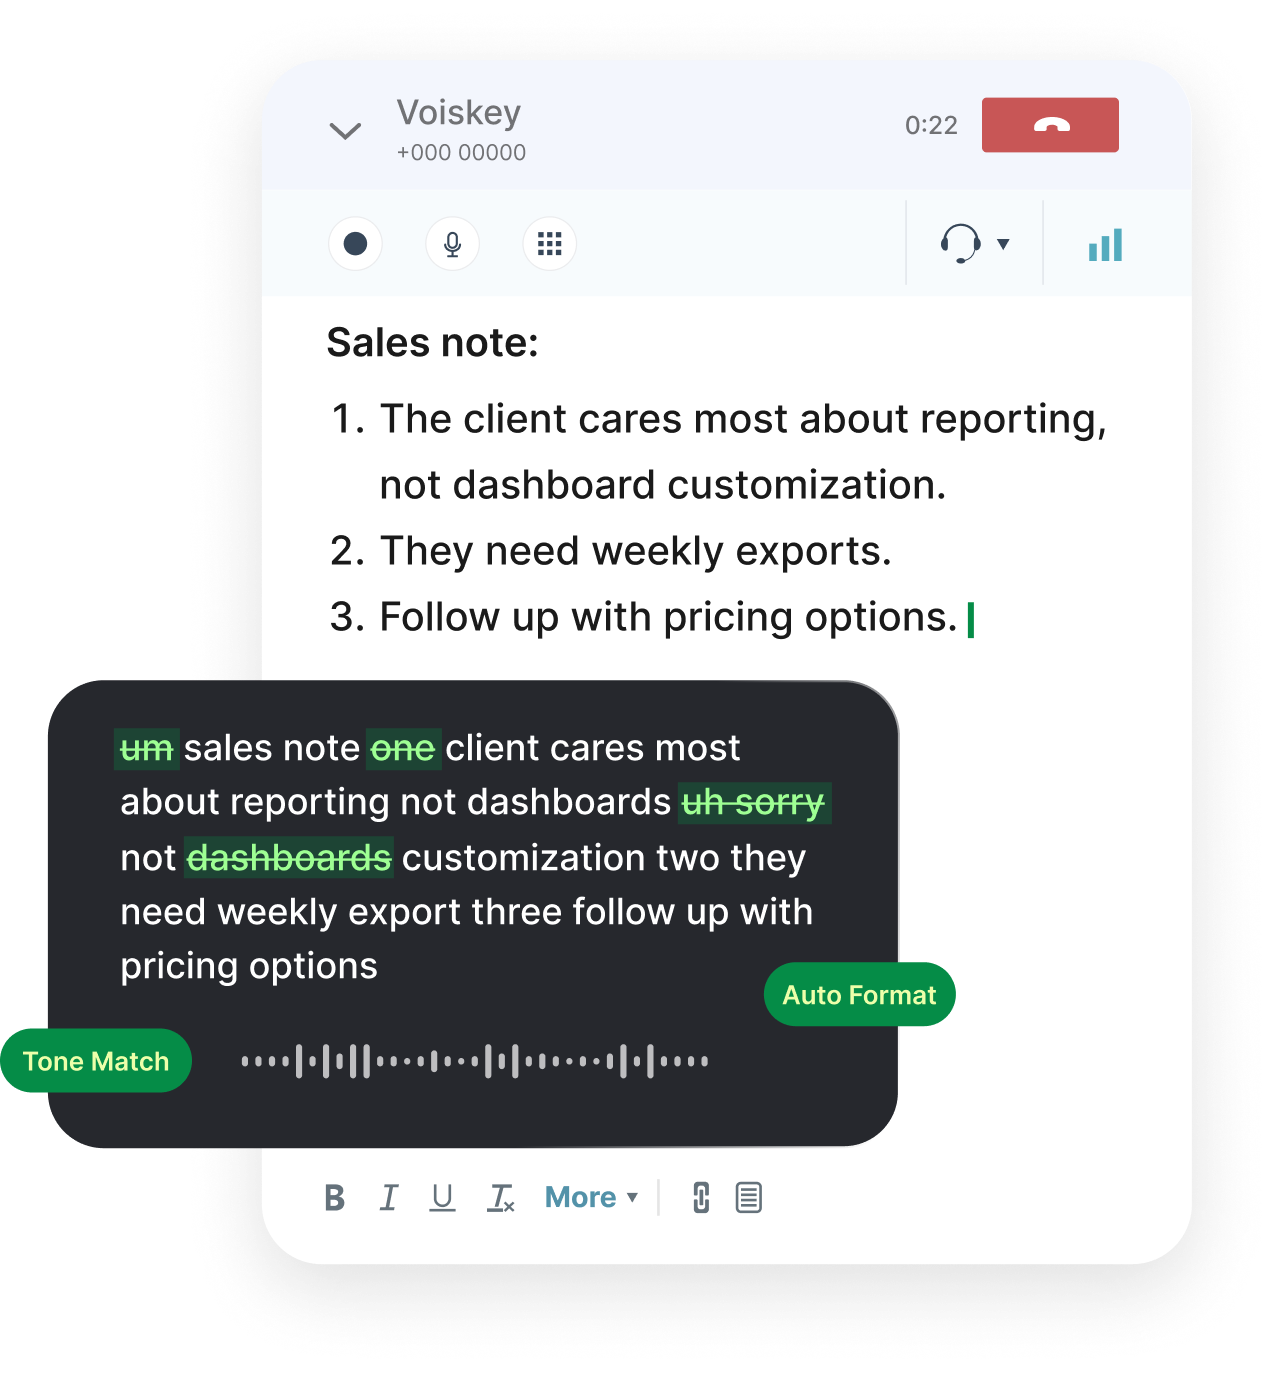
Why Dictate Your Email In The First Place
If your inbox never empties, learning how to dictate an email in Outlook can give you back real time every day. Instead of typing every reply, you speak it, and the words appear in the message body as fast as you can talk. This step-by-step guide shows how to dictate an email in Outlook on both the desktop app and the web, from opening a new message to pressing send.
Speaking is simply faster than typing for most people, often by a wide margin. A reply that takes two minutes to type might take thirty seconds to say. Over a busy morning of correspondence, that difference adds up, and it spares your wrists the strain of constant keyboard work, which matters if you write email all day.
Dictation also changes the tone of your writing for the better. Spoken email tends to sound warmer and more natural, because you phrase things the way you would say them aloud. Once you are comfortable with the punctuation commands, you can produce friendly, well-structured messages without ever touching the keys.
Dictating An Email In The Outlook Desktop App
The desktop app keeps dictation on the ribbon where it is easy to reach. Start a new message, make sure your cursor is in the body, and look for the Dictate button in the Voice group on the Message tab. A single click starts listening, and a second click stops it, so you are always in control of when the microphone is active.
When you first click Dictate, the app may ask for permission to use your microphone; approve it so the feature can hear you. A small toolbar appears showing that it is listening, and anything you say is transcribed at the cursor. Begin with the greeting, then speak the body of the message in short, clear sentences.
Keep your eyes on the screen as the text appears so you catch any stray words early. When you finish a thought, you can click Dictate off, gather your next point, and click it on again. This start-stop rhythm keeps the transcription tidy and prevents long pauses from being misread as part of your message.
Dictate In The Desktop App Step By Step
- Open Outlook and click New Email to start a message.
- Click into the body of the email so the cursor is placed there.
- On the Message tab, click the Dictate button in the Voice group.
- Allow microphone access if the app prompts you.
- Speak your greeting and message, voicing punctuation as you go.
- Click Dictate again to stop listening when you are finished.
Dictating In Outlook On The Web
Outlook on the web puts dictation right in the compose toolbar. Open your mailbox in a browser, click New message, and place the cursor in the body. The Dictate button appears as a small microphone in the formatting toolbar beneath the message; clicking it starts the same speech-to-text experience you get on the desktop.
The web version relies on your browser's microphone permission. The first time you click Dictate, the browser asks whether the Outlook site may use the microphone, so choose Allow. If you miss the prompt or block it by accident, click the lock or microphone icon in the address bar and switch the permission back on, then reload.
Once it is listening, dictate exactly as you would on the desktop: greeting first, then the body, voicing punctuation and new lines along the way. Because the feature behaves the same in both places, you can move between a work laptop and a borrowed machine without relearning anything, which is part of what makes built-in dictation convenient.
Dictate In Outlook On The Web
- Sign in to Outlook in your browser and click New message.
- Click into the message body to position the cursor.
- Click the Dictate microphone in the compose toolbar.
- Select Allow when the browser requests microphone access.
- Speak your message, including punctuation and new lines.
- Click the microphone again to stop when you are done.
Punctuation And A Clean Sign-Off
Just like other dictation tools, Outlook will not add punctuation unless you say it. Reach the end of a sentence and say 'period', pause for a list and say 'comma', and ask a question by voicing 'question mark'. Saying 'new line' drops to the next line, which is perfect for moving from your greeting to the body and then to your sign-off.
A professional email lives and dies by its opening and closing, and both are easy to dictate. Start with 'Hi' followed by the recipient's name and a comma, then a new line into the body. For the close, say 'new line', then your sign-off phrase such as 'Best regards', a comma, another new line, and your name.
Keep these phrases consistent and they become muscle memory within a day. Many people dictate a standard greeting and closing so often that the words flow automatically, leaving their attention free for the actual content of the message. The structure commands are what turn a block of spoken text into a properly shaped email.
Punctuation And Sign-Off Commands
- End a sentenceSay 'period', 'question mark', or 'exclamation point'.
- Pause mid-sentenceSay 'comma' or 'semicolon' where it belongs.
- Move down a lineSay 'new line' between greeting, body, and sign-off.
- Start a paragraphSay 'new paragraph' to add a blank line.
- Close the emailSay 'Best regards', 'comma', 'new line', then your name.
Fixing Mistakes And Sending
Before you send, give the message a quick read to catch any misheard words. The most common slips are homophones and names, so your eyes should go straight to those first. With Outlook's built-in Dictate you pause, click into the error, and retype it, then resume dictation or finish by hand.
For a fully hands-free fix, Voiskey lets you select the wrong phrase and speak the correction, so you never leave dictation mode. Either way, make your corrections before adding the recipient and subject, so a stray misfire of the send shortcut cannot push out an unfinished draft.
When the message reads cleanly, add the recipient in the To field, write a clear subject line, and send. It is worth confirming the recipient last, as a final guard against sending too early. With the body already dictated and corrected, the send step takes only a moment and your reply is on its way.
Review And Send Checklist
- Stop dictation and read the whole message once.
- Fix homophones and names, re-speaking them with Voiskey if you like.
- Confirm the greeting, body, and sign-off all read correctly.
- Add or check the recipient in the To field.
- Write a clear, specific subject line.
- Send the email and confirm it leaves your outbox.
The Same Shortcut Everywhere With Voiskey
Outlook's Dictate is handy, but it only exists inside Outlook. The moment you switch to a chat app, a web form, or a different mail client, the feature disappears and you are typing again. Voiskey removes that limit by working system-wide: one keyboard shortcut types your speech wherever the cursor is, including the Outlook desktop app and Outlook on the web.
This matters because it gives you a single habit instead of a patchwork of different buttons. The same shortcut that dictates your Outlook reply also fills in a Teams message, a browser search box, or a note in another app. You stop hunting for each program's dictation control and simply press one key combination everywhere.
Voiskey only turns your speech into text at the cursor; it does not read your screen, your files, or your messages. It is free to start, supports punctuation and voice editing, and lets you add custom vocabulary for names and jargon. That makes it a natural complement to Outlook's built-in tool rather than a wholesale replacement.
Use One Shortcut Across Outlook And Beyond
- Install Voiskey and sign in to the free plan.
- Confirm the activation shortcut you want to press.
- Open a new email in the Outlook app or on the web.
- Place the cursor in the body and press the shortcut.
- Dictate your message, then press the shortcut to stop.
- Use the same shortcut later in chat, search, and other apps.
Troubleshooting Common Dictation Problems
When dictation misbehaves, the cause is usually one of a few predictable things. A greyed-out or missing Dictate button almost always means your version of Outlook does not include the feature, you are not signed in, or you are offline, since the speech processing happens over the internet. Confirm those basics before digging deeper.
If the button works but nothing is transcribed, the microphone is the prime suspect. Check that the correct input device is selected in your system settings, that the app or browser has permission to use it, and that the mic is not muted in hardware. A quick test in another app confirms whether the microphone itself is working.
Poor accuracy, as opposed to no text at all, points to the environment. Background noise, a distant microphone, or rushed speech all degrade recognition. Move somewhere quieter, bring the mic closer, and slow down slightly. For names and jargon that are misheard no matter what, a tool with custom vocabulary like Voiskey is the dependable fix.
Quick Fixes For Dictation Issues
- Button missingCheck your Microsoft 365 version, sign-in, and internet connection.
- No text appearsConfirm the right microphone is selected and permitted.
- Poor accuracyReduce noise, move the mic closer, and speak steadily.
- Names misheardAdd them to Voiskey's custom vocabulary for reliable spelling.
Etiquette Tips For Dictated Email
Dictated email can read beautifully, but a little discipline keeps it professional. Always proofread before sending, because a spoken draft can carry a filler word or a run-on sentence that you would never type. A ten-second read saves you from the awkward follow-up correction that undermines an otherwise sharp message.
Mind your surroundings when you dictate. Speaking a confidential reply in an open office or on a train can share more than you intend, so save sensitive messages for a private moment. If you dictate in shared spaces often, keep those emails short and neutral, and finish the delicate parts somewhere quiet.
Finally, match your tone to the recipient. Because speaking is casual by nature, dictated email can drift informal, which is perfect for a friendly colleague but less so for a first contact with a client. A quick edit pass to tighten the tone ensures your voice-written messages land exactly as you intend them to.
FAQ s
Yes. Microsoft 365 versions of Outlook include a Dictate button on the Message ribbon in the desktop app and in the toolbar of Outlook on the web. It converts your speech to text in the body of the email while you compose.
Open a new email and look at the Message tab of the ribbon in the desktop app; the Dictate button sits in the Voice group on the right. In Outlook on the web, open a new message and find the Dictate microphone in the compose toolbar.
You can. Say the name of the mark, such as 'comma', 'period', 'question mark', or 'new line', and Outlook inserts it. Speaking punctuation as you reach it keeps your sentences properly formed without touching the keyboard.
Dictation requires a supported Microsoft 365 subscription, an internet connection, and microphone permission. If the button is missing or disabled, check that you are signed in, that your version supports it, and that the app or browser is allowed to use the microphone.
Pause dictation, click into the word, and retype or re-dictate it. With Voiskey you can select the phrase and speak the correction instead, so you fix the mistake without reaching for the keyboard, then carry on composing.
Outlook's Dictate only works inside Outlook. Voiskey works system-wide, so the same keyboard shortcut types your speech into Outlook, Gmail, Slack, or any other app and website, giving you one consistent way to dictate email anywhere.


 Voiskey
Your voice, amplified.
One shortcut to dictate email, chat, and docs everywhere. Try Voiskey free and keep your hands off the keyboard.
Use it across macOS, Windows, iOS, and Android