
Dictation for Gmail Chrome Extension: Install and First Run
What a dictation for Gmail Chrome extension is and exactly how to install it, grant the mic, pin it, and send your first voice-typed email.
 Voiskey Team
What a Dictation for Gmail Chrome Extension Actually Is
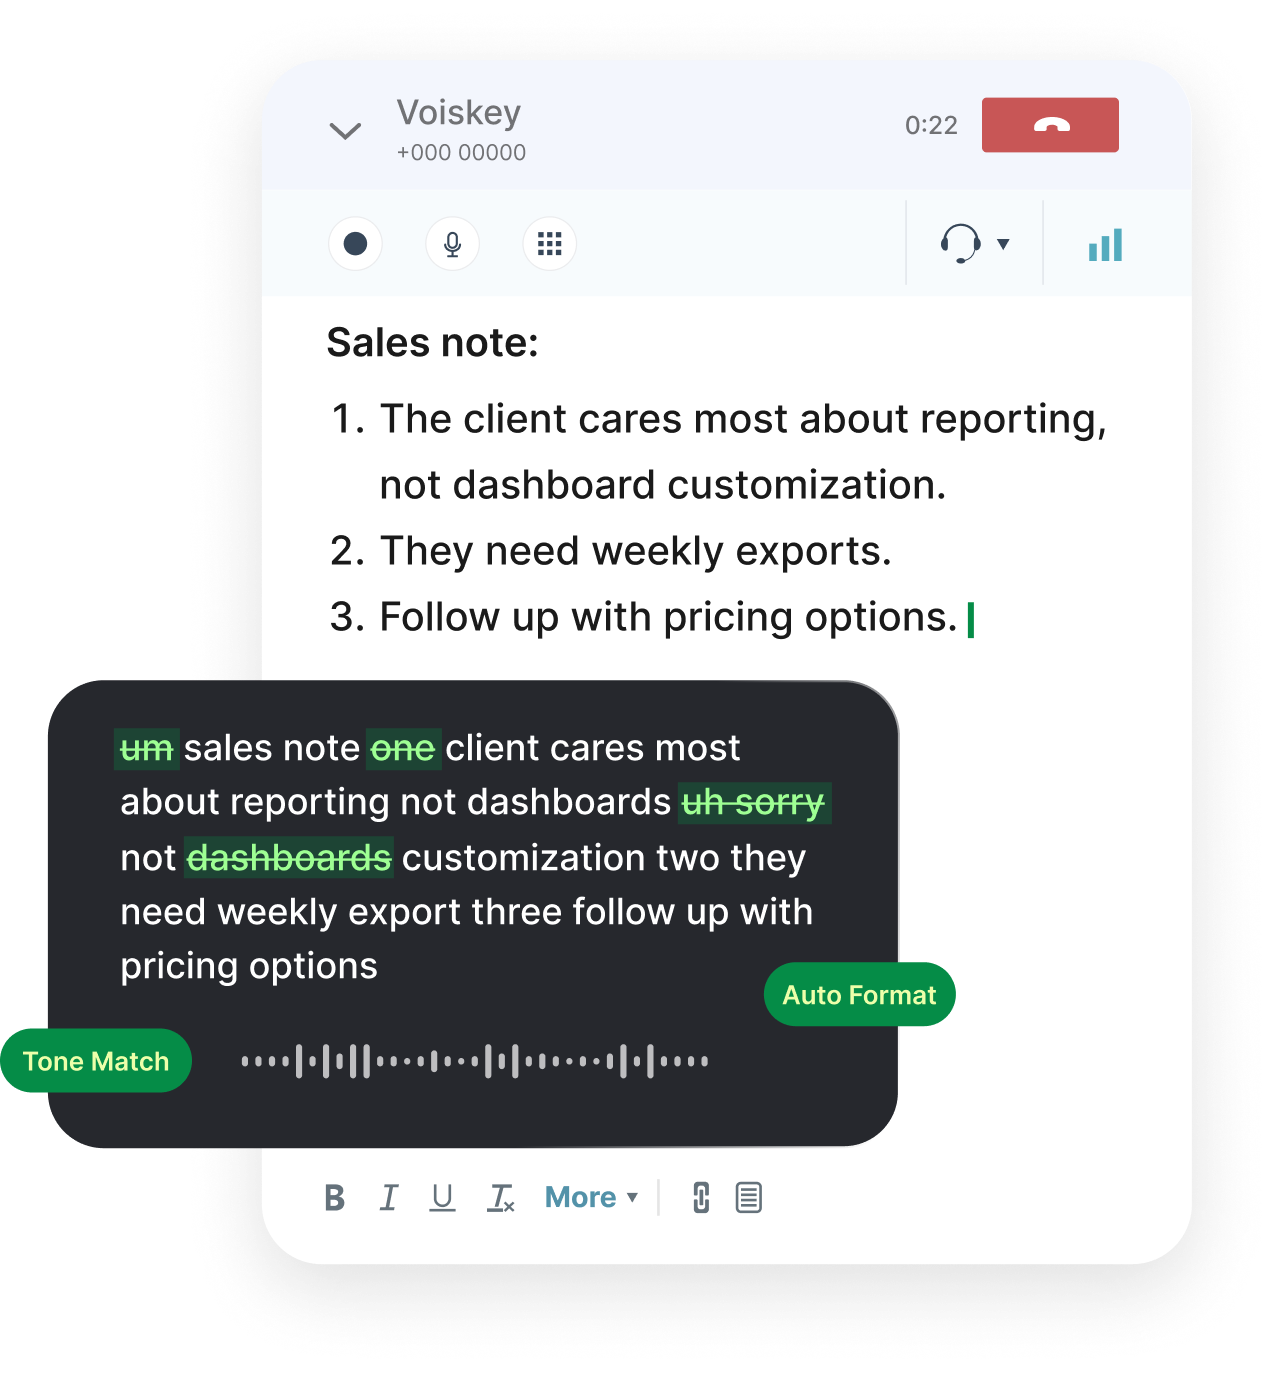
A dictation for Gmail Chrome extension is a small tool you add to the Chrome browser that lets you type with your voice inside Gmail. You press a keyboard shortcut, speak, and your words appear in whatever field your cursor is in, whether that is a new message, a reply, or the Gmail search bar. Instead of a separate app you switch to, it lives right in the browser where your email already is.
Voiskey works on exactly this principle: you press a shortcut, say what you mean, and it types the text at your cursor. It does not read your screen, open your messages, scan your inbox, or send your data to anyone. Its only job is turning speech into text at the point where you are already typing, which keeps it predictable and easy to trust.
The word extension matters because it describes where the tool sits. Rather than being locked to Gmail alone, a browser-level approach runs anywhere you can type in Chrome. That means the same setup that writes your email also fills in documents, web forms, chat boxes, and search fields, so one installation covers your whole browsing day.
What It Does and Does Not Do
- Doestype your spoken words at the cursor in Gmail and other fields
- Doesadd punctuation and line breaks when you say them
- Doeslet you correct text by voice and add custom vocabulary
- Does notread your inbox, screen, or files
- Does notsend messages or take actions on your behalf
Installing It in Chrome
Installation is quick and only happens once. You add Voiskey to Chrome, and from then on it is available in every tab. The browser walks you through adding the extension, and the whole process takes about a minute before you are ready to grant the microphone permission and pin it where you can see it.
Before you start, make sure Chrome is up to date and that you have a working microphone, whether that is a built-in laptop mic, a headset, or an external microphone. Any of them works, but a headset or dedicated mic generally produces cleaner transcription because it sits closer to your mouth and picks up less background noise.
Once the extension is added, you will usually see a confirmation and a small icon appear near the top-right of the browser. That icon is your sign that the tool is installed; the next two steps, granting the microphone and pinning the icon, make it genuinely ready to use in Gmail.
Add It to Chrome
- Confirm Chrome is updated and your microphone is connected and working.
- Open the page for the Voiskey extension in Chrome.
- Click the button to add the extension to the browser.
- Approve the confirmation prompt Chrome shows you.
- Wait for the small extension icon to appear near the top-right of the browser.
Granting the Microphone Permission
Dictation cannot work until Chrome is allowed to use your microphone, so this is the step that actually turns on your voice. The first time you try to dictate, the browser will ask whether to allow microphone access. Choose allow, and Chrome remembers the choice so you are not asked again every time.
If you clicked block by accident, or you never saw the prompt, you can fix it in Chrome's site and extension permissions. Look for the microphone setting, find the entry for the dictation tool, and switch it to allow. After changing it, reload Gmail so the new permission takes effect in the tab.
A quick way to confirm the microphone is working is to watch for the browser's recording indicator when you start dictating. If it lights up when you press your shortcut and speak, Chrome is hearing you. If nothing happens, the permission is usually the culprit, and re-checking it resolves the problem most of the time.
Turn On the Mic
- Start your first dictation so Chrome shows the microphone prompt.
- Click Allow when asked whether to grant microphone access.
- If you missed the prompt, open Chrome's microphone permissions.
- Find the dictation tool in the list and set it to allow.
- Reload the Gmail tab so the permission applies.
- Press your shortcut and watch for the recording indicator to confirm it works.
Pinning the Extension Where You Can See It
Chrome often tucks new extensions into a puzzle-piece menu rather than showing them on the toolbar. Pinning the dictation extension keeps its icon visible all the time, which matters because the icon gives you a quick status cue and an easy place to open settings or check that the tool is active.
To pin it, click the extensions puzzle-piece icon in the top-right of Chrome, find the dictation tool in the dropdown, and click the pin symbol next to it. The icon then stays on your toolbar. You can drag it to sit wherever is most convenient among your other pinned extensions.
A pinned icon is especially helpful while you are still learning the shortcut, because a single glance tells you the tool is ready. Once dictation becomes second nature you may barely look at it, but keeping it pinned costs nothing and spares you from digging through menus when something needs checking.
Running Your First Dictation in Gmail
With the extension installed, the microphone allowed, and the icon pinned, you are ready for the moment that makes it all click: your first voice-typed email. Open Gmail, click Compose, and click once inside the message body so the cursor is blinking there. That cursor is where your words will land.
Press your dictation shortcut, wait a beat for it to begin listening, and speak a short sentence as if you were talking to the recipient. Say your punctuation out loud, for example period at the end of a sentence or comma in the middle, and watch the text appear with proper formatting. Seeing your speech become a tidy sentence is the point where the habit starts to feel natural.
Do not aim for perfection on the first try. Dictate a couple of sentences, notice what came out well, and fix anything off by selecting the text and speaking the correction. A few minutes of this and you will trust the tool enough to write a real message start to finish by voice.
Your First Voice-Typed Email
- Open Gmail and click Compose to start a new message.
- Click once inside the message body so the cursor is blinking there.
- Press your dictation shortcut and pause briefly for it to start listening.
- Say a sentence, speaking punctuation like period and comma out loud.
- Say new line to move down, then dictate a second sentence.
- Select any word that came out wrong and speak the correction, then send.
Why a Browser-Level Approach Works Everywhere
The real advantage of a Chrome extension is that it is not limited to Gmail. Because it types at your cursor inside the browser, the same shortcut works in Google Docs, in a reply box on another site, in a web form, in a chat tool, and in a search bar. You set it up for email, and you get voice typing across the whole web for free.
This matters because your day is rarely just email. You jump from Gmail to a document to a web app and back, and a tool that only worked in one of those would force you to switch methods constantly. A browser-level approach means one consistent habit: press the shortcut, speak, done, no matter which tab you are in.
It also keeps things simple and private in a reassuring way. The extension does one narrow thing, converting your speech into text where your cursor is, and it does that thing the same way everywhere. There is nothing reading your pages or acting on your behalf; you learn one shortcut once and it quietly follows you across Gmail and the rest of the web.
FAQ s
It is a small tool you add to the Chrome browser that lets you type with your voice in Gmail. You press a shortcut, speak, and the words appear at your cursor in the compose box, reply box, or search field, right inside the browser where your email already lives.
Make sure Chrome is updated and your microphone is connected, open the Voiskey extension page in Chrome, click the button to add it, and approve the prompt. A small icon then appears near the top-right of the browser, ready for you to grant the mic and pin it.
Dictation converts your speech into text, so Chrome must be allowed to use your microphone. The first time you dictate, the browser asks for permission; choose allow and it remembers the choice. If you blocked it by mistake, switch it back in Chrome's microphone permissions and reload Gmail.
Click the puzzle-piece extensions icon in the top-right of Chrome, find the dictation tool in the dropdown, and click the pin symbol next to it. The icon then stays on your toolbar so you can see its status and open settings at a glance.
No. Because it types at your cursor inside the browser, the same shortcut works across the web: Google Docs, web forms, chat boxes, search bars, and other sites. You set it up for Gmail and get voice typing everywhere you type in Chrome.
No. Voiskey only turns your speech into text at your cursor. It does not read your inbox, your screen, or your files, and it does not send your data anywhere or act on your behalf. Its single job is converting what you say into typed text.


 Voiskey
Your voice, amplified.
Add it to Chrome once and start writing Gmail, and the rest of the web, with your voice.
Use it across macOS, Windows, iOS, and Android